This is what the finished product looks like


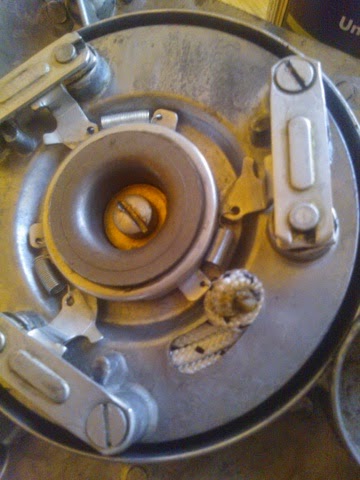
I greased every moving part real good, just to ensure a good working order when the engine is done.
Do note, I also installed new latch springs, since the originals were really crunchy and fragile.
Anyway, the theory for installing a new pull start cord goes like this:
Wind the entire recoil mechanism approximately 4.5 turns (or until it simply does not move anymore)
Ease off one half turn
Clamp a clamp (any kind of clamp will do) on to the housing to prevent it from springing back
Install a new pull cord, tying a knot at one end so it attaches to the housing (as picture no. 3 shows)
Grab the cord with a steady grip (the spring is surprisingly strong!) and slowly let the rope go, so that the spring pulls it back into the housing.
Attach the starter handle to the other end of the cord.
Done! In reality, it may be harder than it seems (it usually is..) but it is quite a straight forward process if done with care.
It is highly recommended to grease and lube every moving part, to install new latch springs and to install a new pull cord every time one opens the pull start recoil spring housing.
No comments:
Post a Comment